We built a do it yourself homemade milking stanchion for our family cow. In this post we will show you how it all started
Note: This blog post has been broken down into several parts to help with the load times, this project is picture intensive.
You can see the stanchion “in action” on our milking barn page at http://thepossumridgefarms.com/home/the-milking-barn/
Materials listing for part one of this blog
Qty 4 4X4X8 pressure treated posts (all wood utilized in this project was pressure treated)
Qty 1 2X6X8 pressure treated wood
Qty 1 farmer in training
Qty 1 Box 3 inch deck screws and a few nails
Tools Required:
Hammer
Post hole digger
Shovel
level
Drill (corded or cordless)
Spud Bar ( if you have concrete for soil)
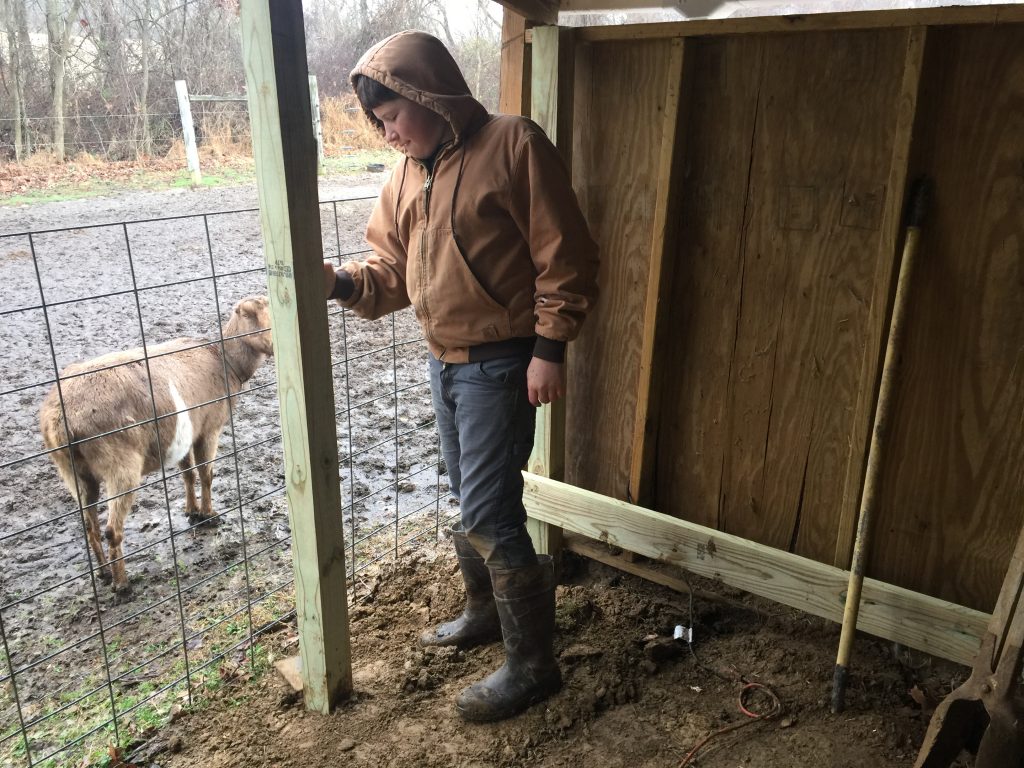
When considering building a milking stanchion for a cow you need to look at your site selection, stanchion type, breed of cows to be milked, building materials available and realistic utilization expectations, so do your research before attempting to build your own. Also please keep in mind the weight of a full grown cow can be well over a thousand pounds, so skimping on lumber, fasteners or anything else is not advised. After looking at numerous stanchions online and in person we elected to build a raised stanchion that would out live my generation, add some level of comfort to the milking process for us and the cows and of course keep the cow somewhat contained while milking. After measuring the building and then a cow or two (which was interesting all in itself) it appeared that our former fodder/small equipment building was a little short but could be modified for our needs. After researching all the considerations with a basic plan in mind, myself, my wife, grandson and granddaughter started the process. We proceeded to move everything out of that area of the barn and started construction ( thanks to Jonathan for helping move the coke machine, wow was it heavy). So now our task was to make a small barn into a milking parlor for not only the cows but our goat herd too. The pictures below are from the early stages of the project:
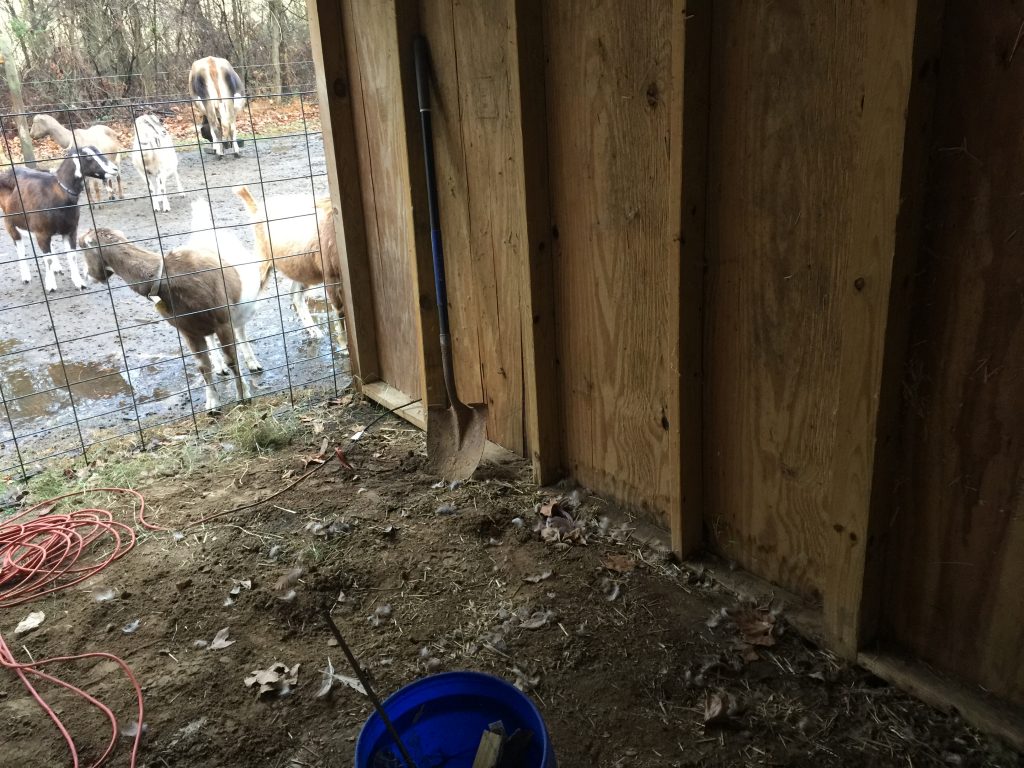
As you can plainly see in the pictures it had been raining for it seemed like months but we were mostly inside so it did not slow the process too much.
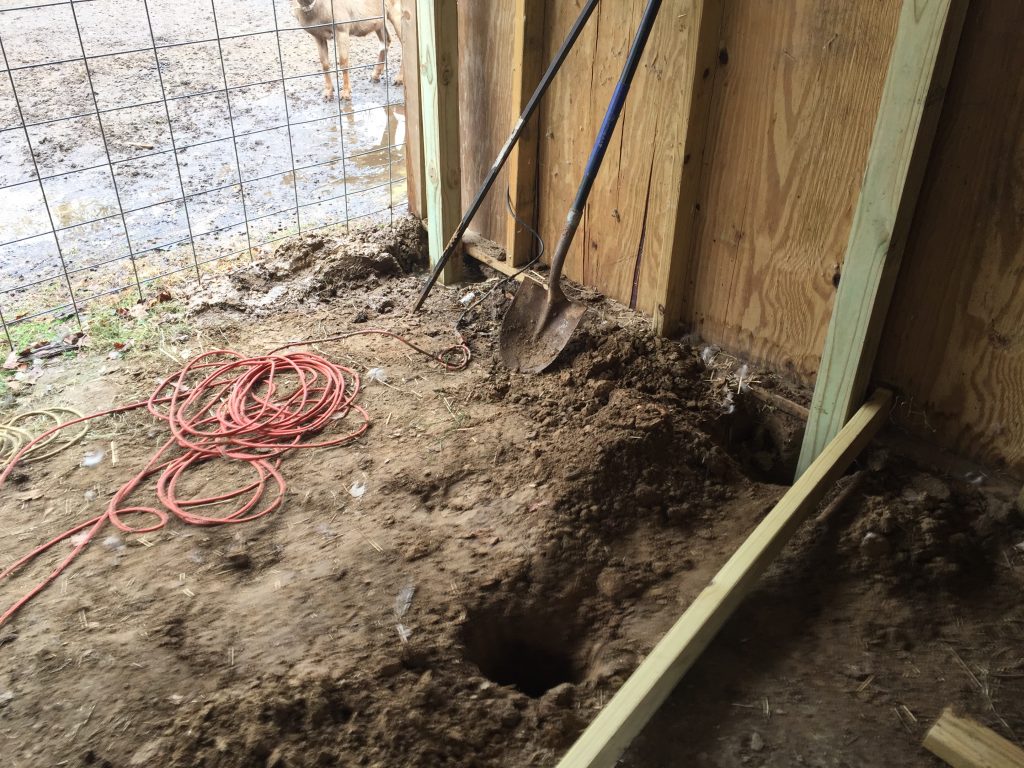
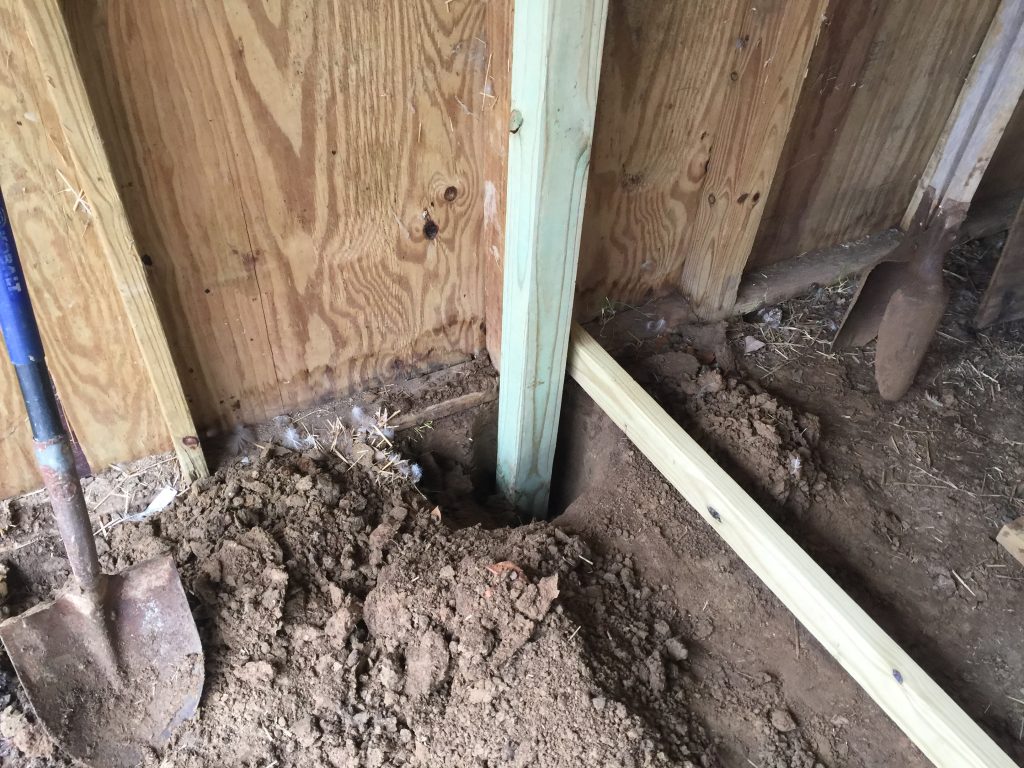
We dug 4 holes with a post hole digger. 2 holes along the wall of the building and 2 holes parallel to the first ones center to center 38 inches apart in one direction and 8 feet apart in the other. The holes were about 2 feet deep, squared and leveled in both directions before adding the dirt back to the hole. This is a critical step so I will repeat make sure your posts are square and level, if they are even slightly off it will create issues later in the project.
You can put concrete in the hole instead of dirt but with the clay soil there in Tennessee it wasn’t necessary (wet dirt here sets up like concrete).
My “assistant” added an 8 foot 2X6 to the posts and filled in the holes. The height of the 2X6 brace will be the substructure height of the stanchion plus the decking material utilized

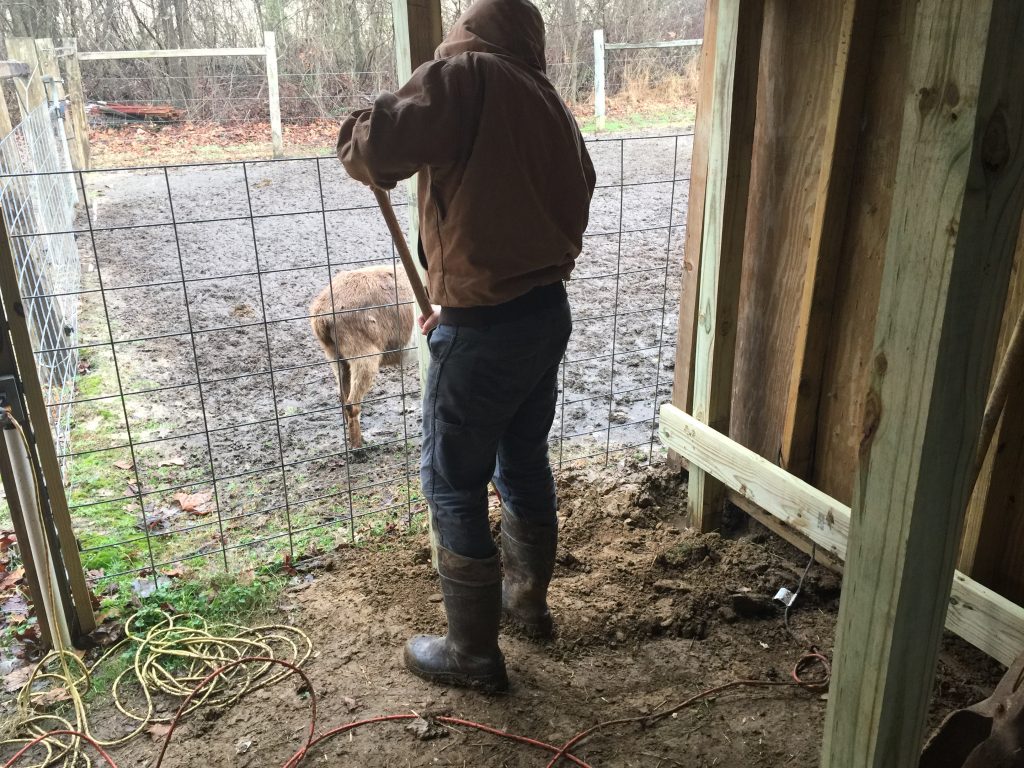
The entire assembly was screwed together for added stability
In our next post we will build the complete stanchion substructure.
Stay tuned and see you down at the barn