Note: This blog post has been broken down into several parts to help with the load times, this project is picture intensive.
You can see the stanchion “in action” on our milking barn page at http://thepossumridgefarms.com/home/the-milking-barn/
Materials listing for part one of this blog
Qty 1 2X4X8 pressure treated wood
Qty 1 4X4X10 pressure treated wood
Qty 3 2X6X8 pressure treated wood
Qty 1 farmer in training
Qty (a bunch) 3 inch deck screws
Tools Required:
Hammer
Post hole digger
Shovel
level
Drill (corded or cordless)
Spud Bar ( if you have concrete for soil)
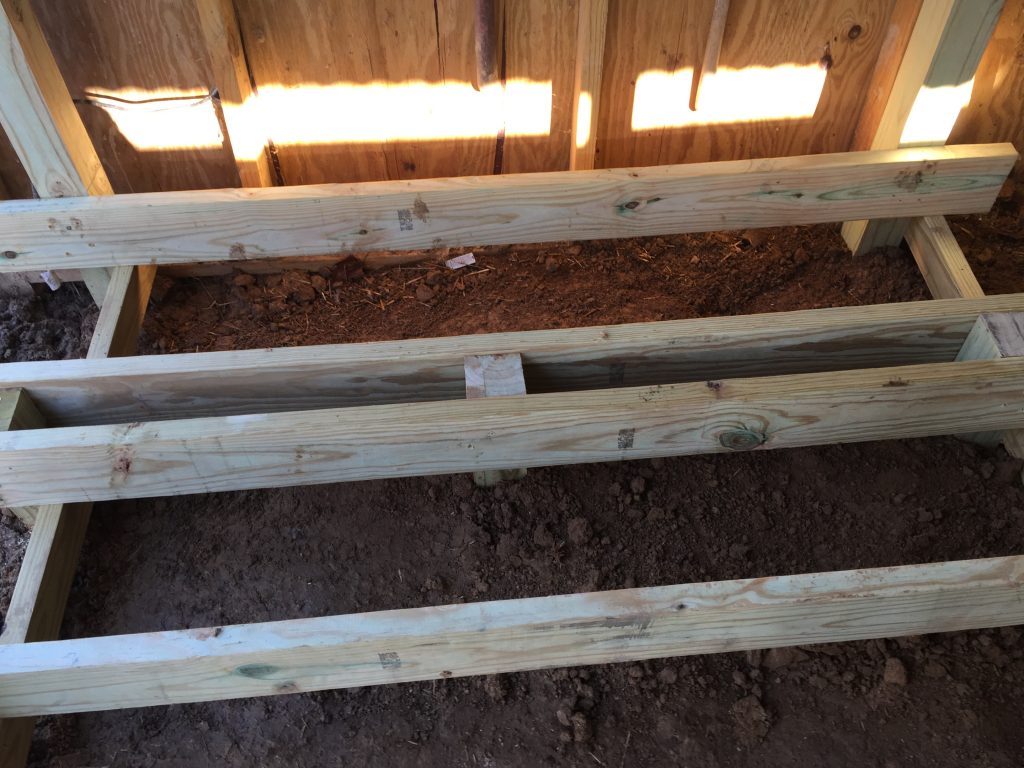
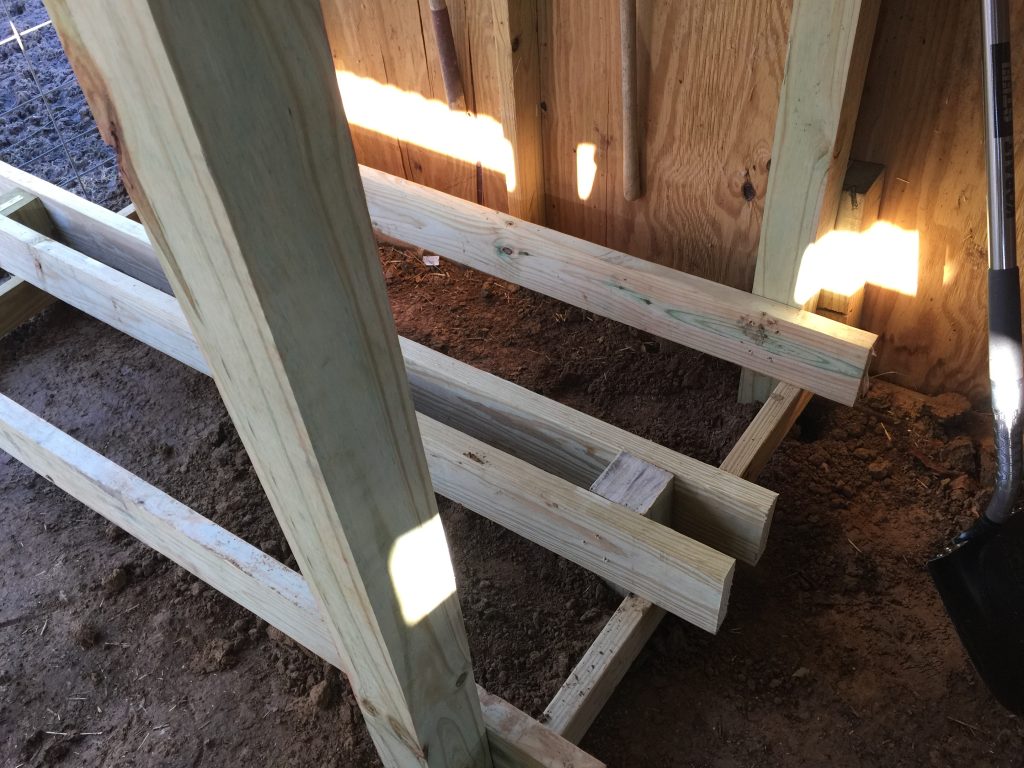
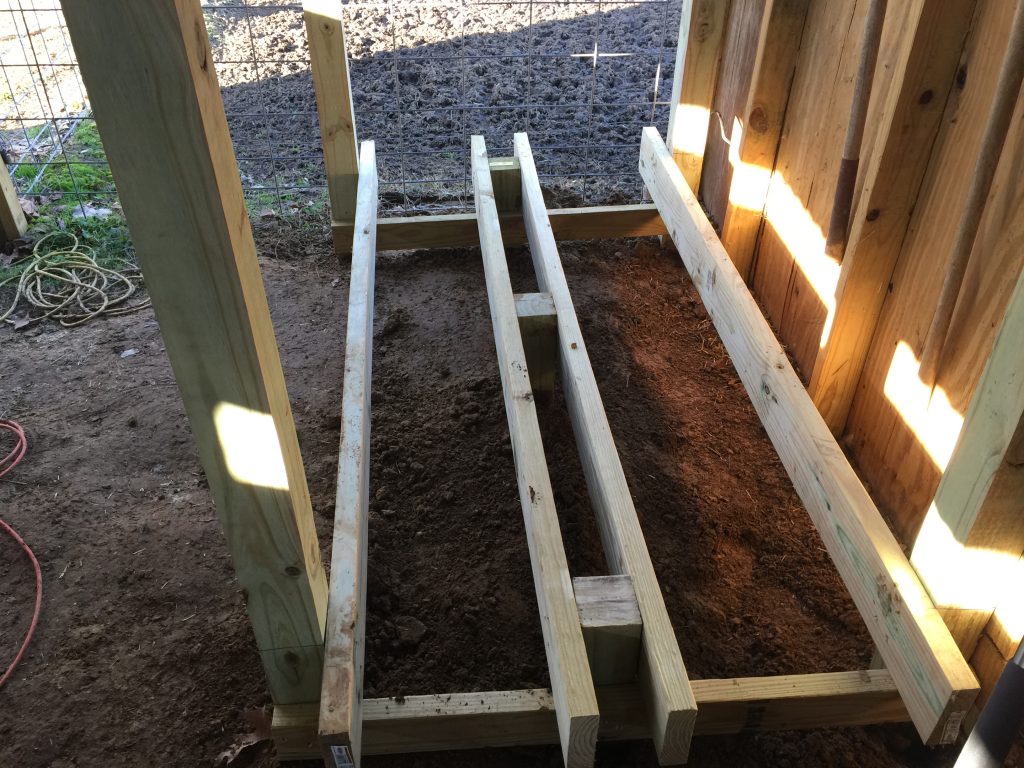
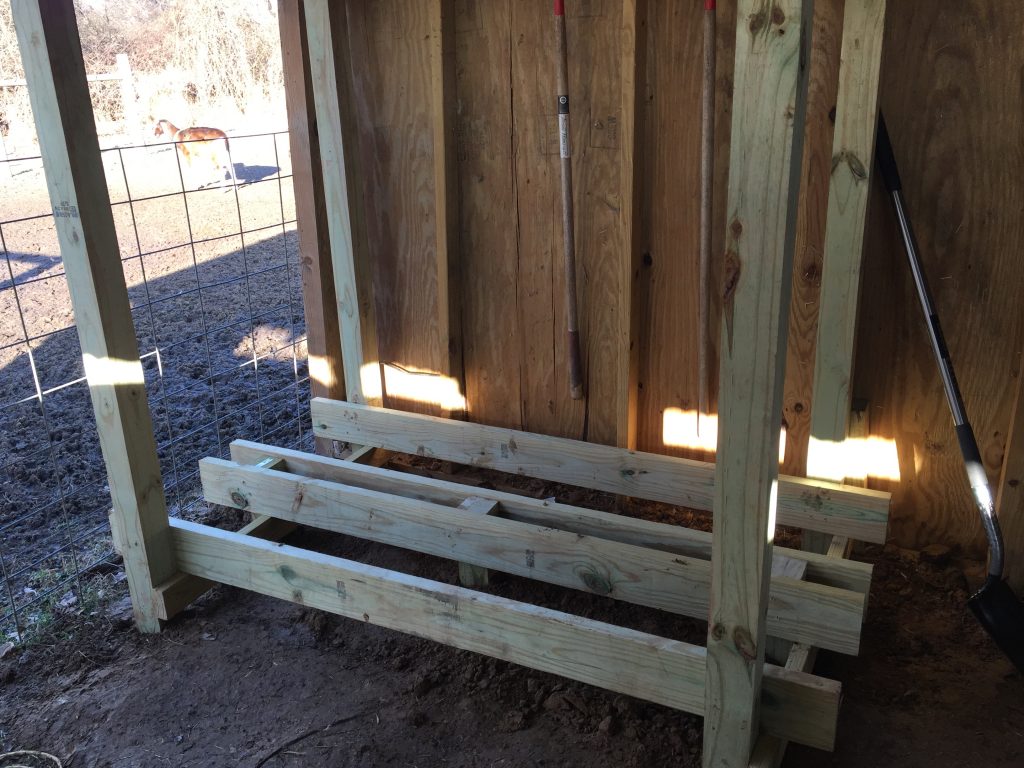
In part 1 we left off with an empty building and 4 posts sticking out of the ground and a single 2X6 wood plank screwed into two of the posts. At this point we dug 3 additional holes, one hole each centered on our original posts and one completely centered within the assembly. Each hole should be a least 2 feet deep. Cut a 10 foot long 4X4 into thirds and put each one of them into each hole. At this point do not put the dirt back in the hole, just leave it for later. Then we cut a 2X4 into 2 pieces the same length as the distance of the posts we assembled in part 1 and screwed them in with deck screws. Please remember each 2X4 needs to be COMPLETELY level prior to attaching to the post, this is critical. Attach a 2X6 to the outside posts allowing them to sit directly on the 2X4 at each end of the project. Add qty 2 2X5 to the center 4X4 posts in the ground ( one on each side) and your substructure is complete. This certainly sounds complex but follow the pictures and it’s not all that complicated (see below).

In our next post we will add the decking and the ramp structures
Stay tuned and see you down at the barn