The different summer vegetables have been harvested and are either frozen, canned, dehydrated, freeze dried or even eaten. The winter greens are planted (lettuce, kale, turnips, broccoli, spinach and radishes) and are getting ready to provide the family with great cool weather delights. The winter firewood is split and stacked standing by ready to heat the house. The fur on the animals is getting thicker by the minute and the birds are full feathered. Bob (the king of the pasture, our main bull) is getting cranky. All signs winter is fast approaching.
Last night we completed the last big year end chore, moving hay for the winter. To me this move symbolizes the end of a growing season and the onslaught of colder weather. On Possum Ridge Farm we let our animals graze the pastures year round with lots of space to graze. Grazing equates to eating lots of grass and for those of you that don’t know hay is dried grass. For us that means baling our pastures or purchasing hay from the outside or both. Last night we finally put our winter hay in place and now we are looking towards 2021. The question for many people is how to calculate how much hay you need to overwinter cattle?
The formula I use to calculate the needed amount of hay is as follows:
1000 pound cow (Average Jersey)
25 pounds of consumed dry matter per day
110 days feeding time
5 Cows
13750 Total Pounds of Hay needed
900 Pounds bale weight dry matter
15.28 Round Bales Needed
25 pounds of dry matter consumed per day per cow (we have some green pasture throughout the winter) multiplied by the days needed to feed hay (estimated) multiplied by the number of Cows. Then divide the total pounds needed for the season by the estimated bale weight dry matter (I use 75%) in our case 900 pounds. Based on our needs, we calculated we will need 15.28 bales for the cows for the winter of 2020/2021.
Just to make it easy for some of you non-excel people out there, I have a spreadsheet to calculate your hay needs you can have for free (see below). Just fill in your numbers where the red digits are in the spreadsheet and you are ready to go. And no I don’t want your email address and anything else to download, but if you like it please let us know. I really don’t care what you do with it, but please give us credit if you put it online.
It’s been a great year here at the farm even though the world has had its issues. That’s one of the things that makes farming/homesteading so amazing. Even if the entire world is a dumpster fire, here at the farm the sun comes up, the cows need fed and our little world stays about the same.
A silage tarp is a fancy term used for a ground cover that is left in place for 3 weeks or longer to kill any weeds and the weed seeds under it. Basically this is how it works: The tarp creates an excellent micro climate for seed germination. When the new weeds sprout they face a growing environment with no light and quickly die. Worms and other beneficial organisms help with decomposition of the organic material and actually loosen the soil.As long as you don’t disrupt the soil in theory it works very well. The one we have is about 24 feet wide and 105 feet long purchased from a local company here in Tennessee. These were made popular by Jean-Martin Fortier in his book The Market Gardener and have caught on for various agriculture enterprises. The pictures below are from the application process.
Setup is easy, just unroll and unfold. I suggest doing this on a mild weather day with low wind.
Unfold the tarp
After the tarp is completely unfolded and put in place, it is suggested that you weigh down the edges to prevent them blowing in the wind. We used 50 sandbags and have not had any problems even during tornado season (pictured below). The sandbags were purchased from the same company we got the tarp. If you would like the details please contact me at brackham1@gmail.com
For future reference, grandchildren are good at moving and placing sandbags
Make sure your sandbags are in place and secure; the tarp should be left in place for about 3 weeks in the spring and summer and as long as 6 weeks in the winter.
Using silage tarps provide a low cost method of keeping weeds at bay throughout the entire year. Until next time see you down at the barn
It’s been a while since I put anything on our blog (the whole growing your own food thing is somewhat time intensive especially in the spring and summer months) and this is a little out of the ordinary but I took a primitive wilderness class in Prescott Arizona at the Aboriginal Living Skills School in August 2018. Those of you who know me understand that I am an incessant researcher and I had actually dismissed this school early on but reevaluated after looking deeper. When considering wilderness type classes I looked at the school itself (location, reputation, online student comments, longevity of the school, etc.) class offerings, actual instructors (not just the head instructor(s)) and costs involved. Then I decided that I wanted to go beyond the start a fire with a match or ferrocerium rod type class and work on something a little more primitive with the premise that I had nothing with me in the field except my usual surly attitude and few if any modern wilderness items. The “Provident Primitive Class” at ALSS was a perfect fit.
This is a no nonsense school (with a no BS guarantee http://www.codylundin.com/ALSS_guarantee.html) that will teach you many skills you can add to your primitive skills toolbox. The people who teach there live the experience and seem to truly care about each student and their learning experience. I had several correspondence with the instructors before and after the class where they answered my questions, made sure I understood their answers and kept me on the right path. Even before I left for Prescott I had decided this was where true wilderness skills were being taught (no BS) the way I wanted to learn them.
With all that said, these classes are not cheap. When tuition is combined with airfare, lodging and a rental car it added up to a tidy sum. You can probably find cheaper alternatives closer to your home (I could) with a curriculum somewhat suitable for your needs but in my opinion there are only a few wilderness schools in the country that can truly convey the techniques, communicate why things are done a particular way and more importantly give you first class instruction based on personal experience and time tested knowledge. Over the years I have found good education is hard to come by and potentially priceless should you ever need it to save yourself or one of your family’s lives. These guys at ALSS know what they’re doing and know how to convey it so you can learn the skill and can take it home and practice (which is all anyone can ask). After everything was said and done, this class was worth every penny. Also please understand you will need to be in some semblance of physical shape before attempting this class, more on this later.
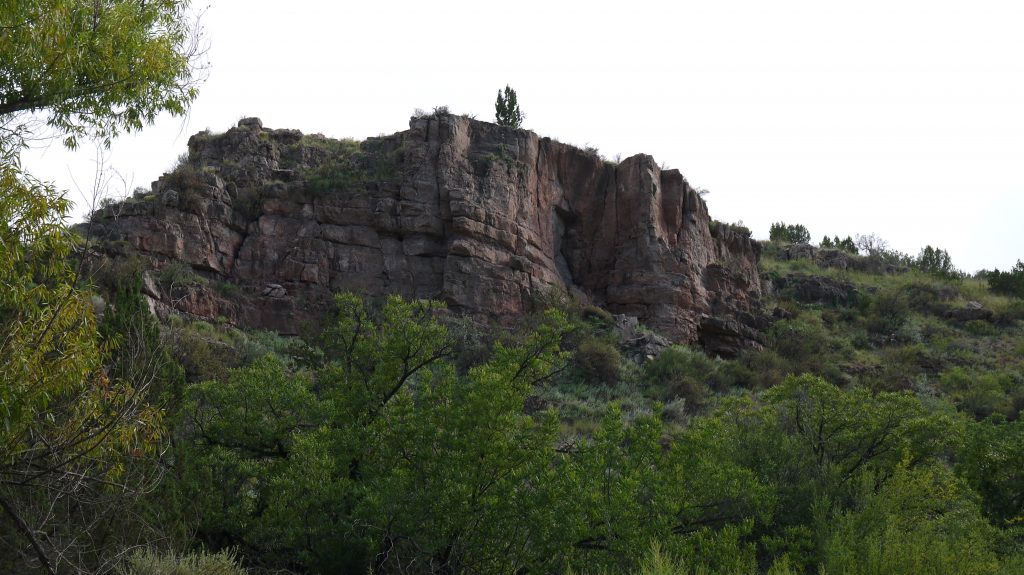
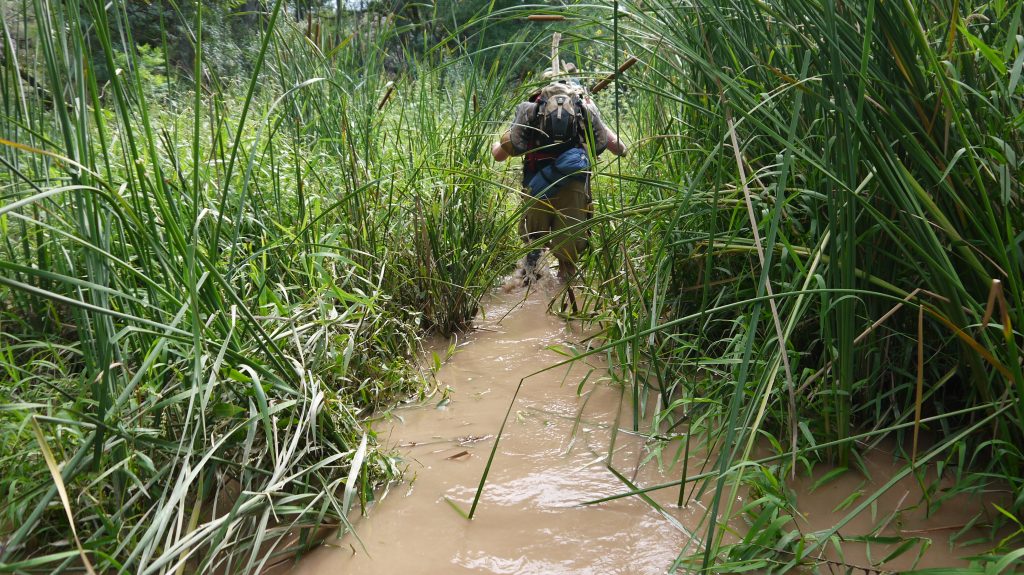
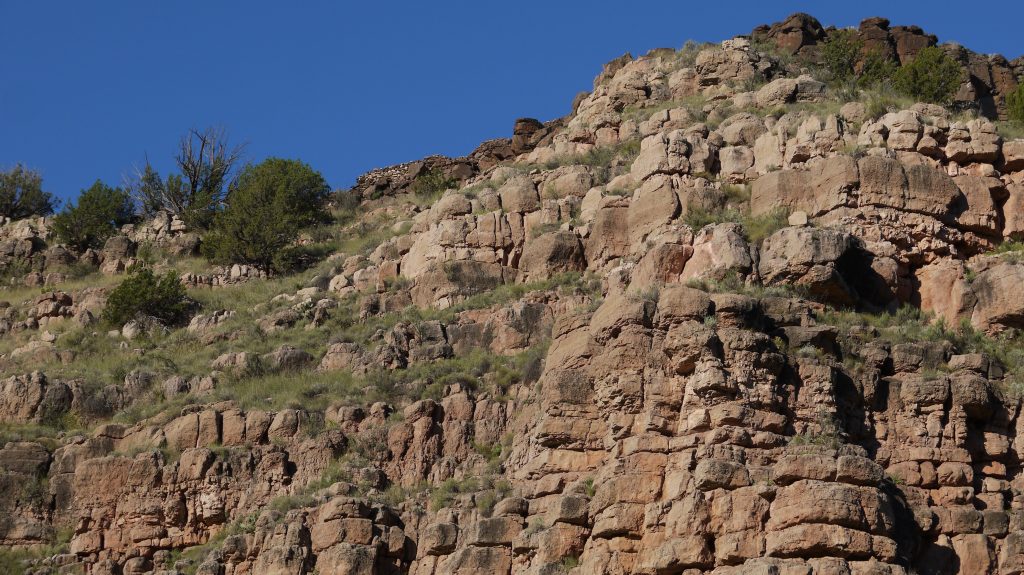
After flying into Sky Harbor airport in Phoenix (with some “interesting American Airline issues” ) renting a car and driving to Prescott I checked into one of the hotels on the list provided by ALSS, it was not a 5 star hotel but it was very close to the school (3 minutes if you take your time) and comfortable. The next morning I got to the school 25 minutes early but was the last one there and the lead instructor Cody Lundin greeted me by name as I pulled in and was told where to park. My gear was loaded on a large 4X4, all electronics, watches, keys and wallets were locked up and we left ( did I mention there is no outside “distractions” while in the class) . After leaving Prescott it gets a little fuzzy where we went, but it was out in the middle of a long way from anywhere. Along the way my “tribe members” got to know each other and when we stopped we unloaded the gear, were handed a few tools to carry for the projects we would build later, went to the bathroom (second tree to the right), drank lots of water and off we went down the side of a small mountain. One of the first things you can’t help but notice is the stunning scenery along the way. It also doesn’t take long for you to figure out walking down the side of a mountain, carrying a pack, at altitude, in 90 plus degree heat if you are in shape or not. Fortunately for someone my age (around 60) in good health (farm work will keep you in shape) I was able to make it without any major problems. Did I mention we walked through three different streams getting to where we set up base camp?
The sandals went on after the first one and didn’t come off until I was back at the hotel afterwards stepping into a much needed shower. We setup base camp near the bottom of a plateau looking up at an ancient American Indian village. It was an amazing place that really set the stage for the skills classes that we went through for the next couple of days.
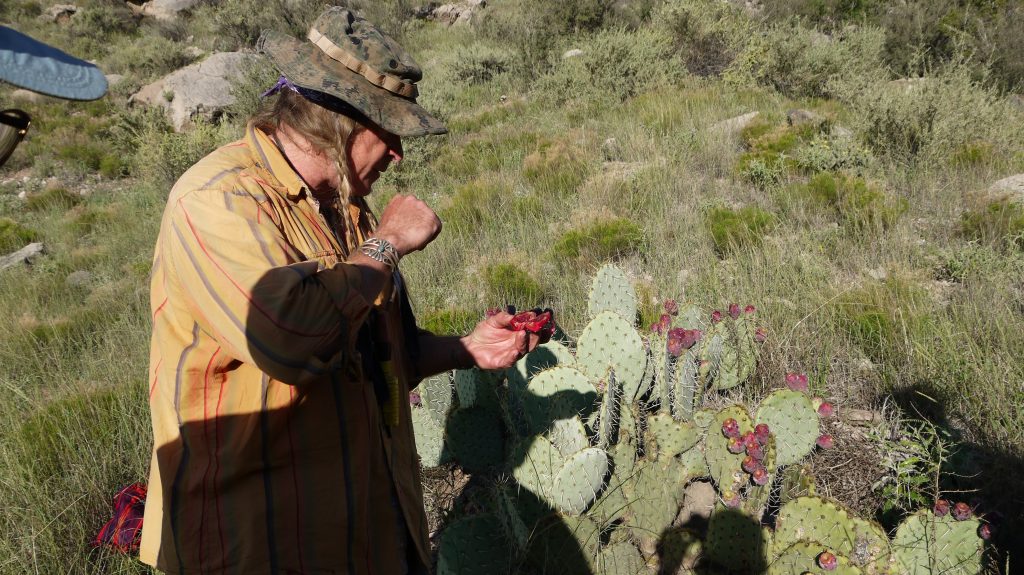
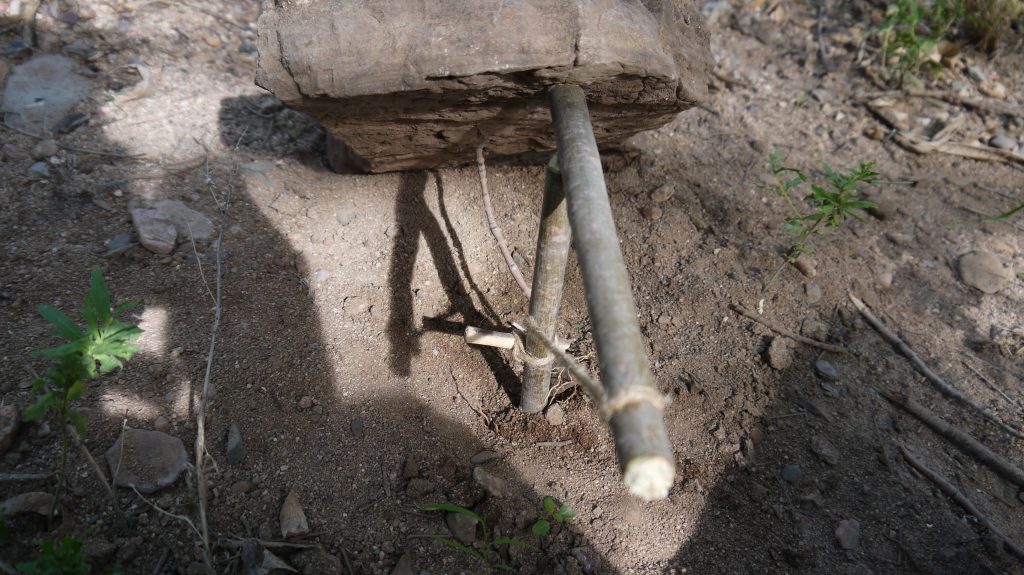
After getting through the basics (expectations, how to purify water in the field, safety, going to the bathroom in the bush, etc.) we went straight to work. I won’t go into the skills we learned in detail but we did make a rabbit stick, made fire with a hand drill (ended up with a bruised hand after this one), learned about and sampled wild eatables,
Cody Lundin showing the tribe what is edible on a cactus
Made a primitive canteen for carrying water
Made a working Paiute dead fall (relatively easy to make but challenging to set).
For more details I suggest going to the website and reviewing the class description at http://www.codylundin.com/provident_primitive.html. This is a fast moving, high activity class with very little down time. You eat as time allows and there isn’t much time, unfortunately I brought way too much food that I got the opportunity to carry down and then back up the mountain. You learn really quick that every ounce counts
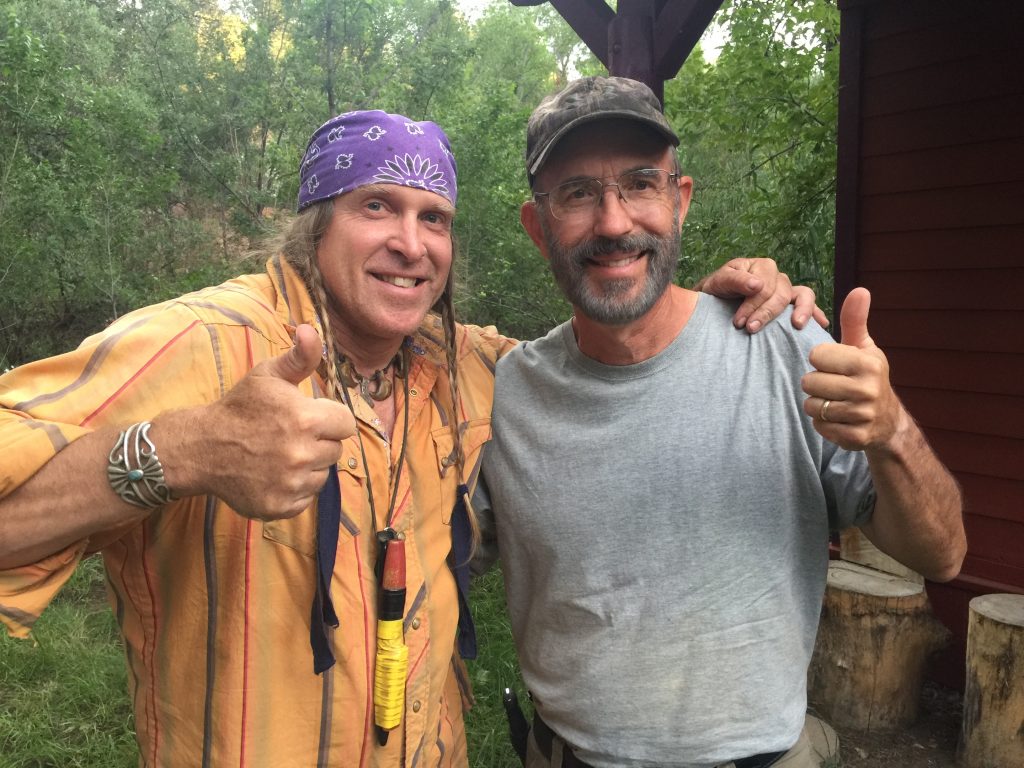
There were two instructors for the class one was Mark Dorsten a very competent outdoorsman and Cody Lundin the founder of ALSS and former Discovery channel television star. Cody is best known for the TV series Dual Survival, but in outdoor survival circles he has been a legend for many years. Both were very approachable and absolutely committed to our safety and teaching us the skills required. What was really impressive was the positive impact both instructors had on everyone in the class, they taught by example, pushed us beyond our reasonable limits and made the entire experience one for the record books.
Cody Lundin and me after the class
For the experience of a lifetime, I can’t recommend the classes at ALSS enough.
Most people when first starting out in homesteading look at two basic animals for their dairy needs, goats or cows. Each has their own place on the homestead and can provide enough milk for your family if you manage them correctly.
NOTE: this should go without saying, but you would be surprised how many people I talk to who don’t understand that in order to get milk from an animal, that animal has to give birth ( i.e. no calf or goat kid, no milk).
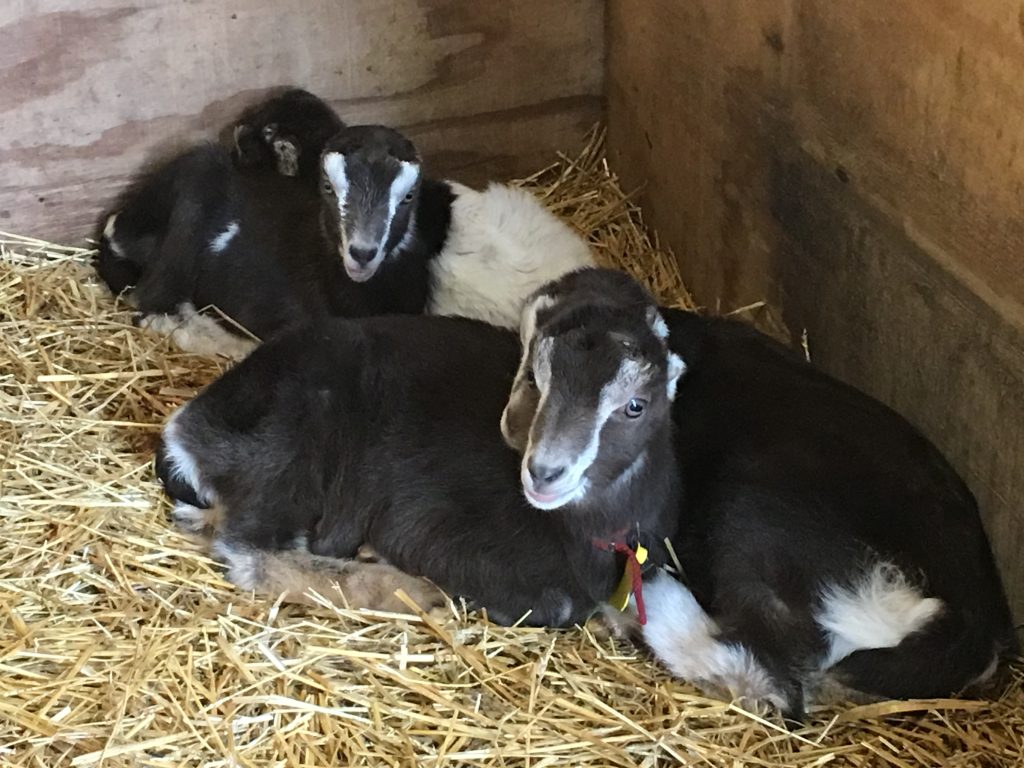
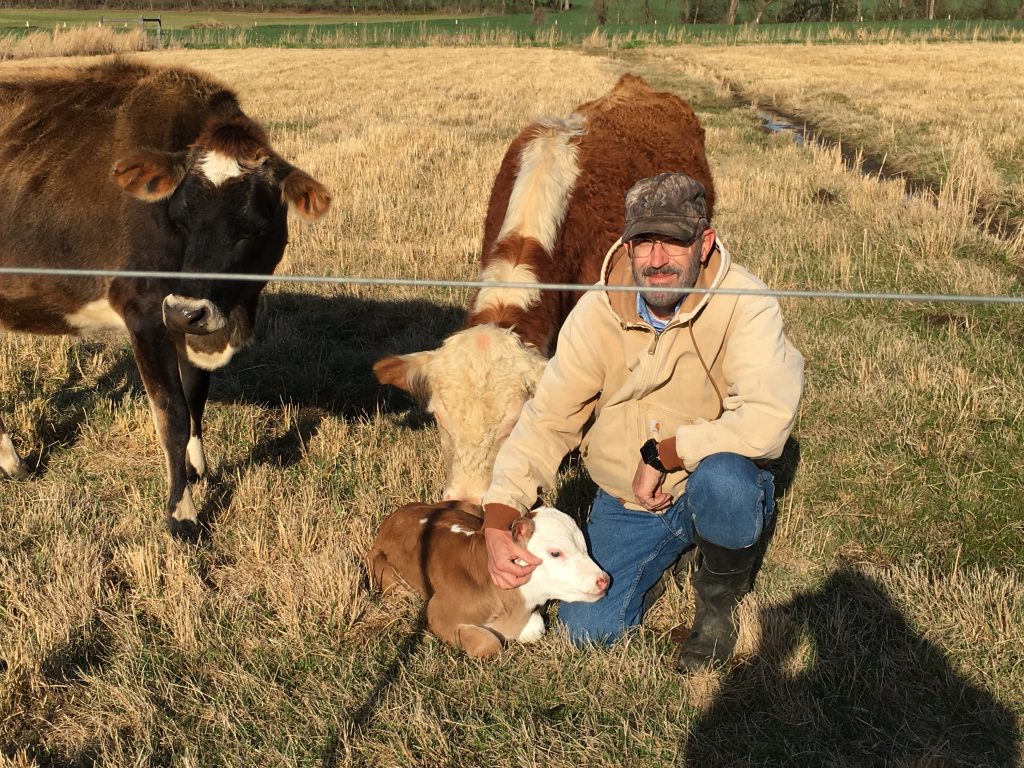
At Possum Ridge Farms we raise both goats and cows. We have been raising goats for 25 plus years and cows for just the last few years, both are enjoyable, fairly easy to raise and mostly trouble free. Goats are a little more challenging in regards to fencing and housing but still are well worth the effort. Cows seem to be somewhat impervious to the weather, where goats run for the barn as soon as rain starts but both seek shade on the hotter days.
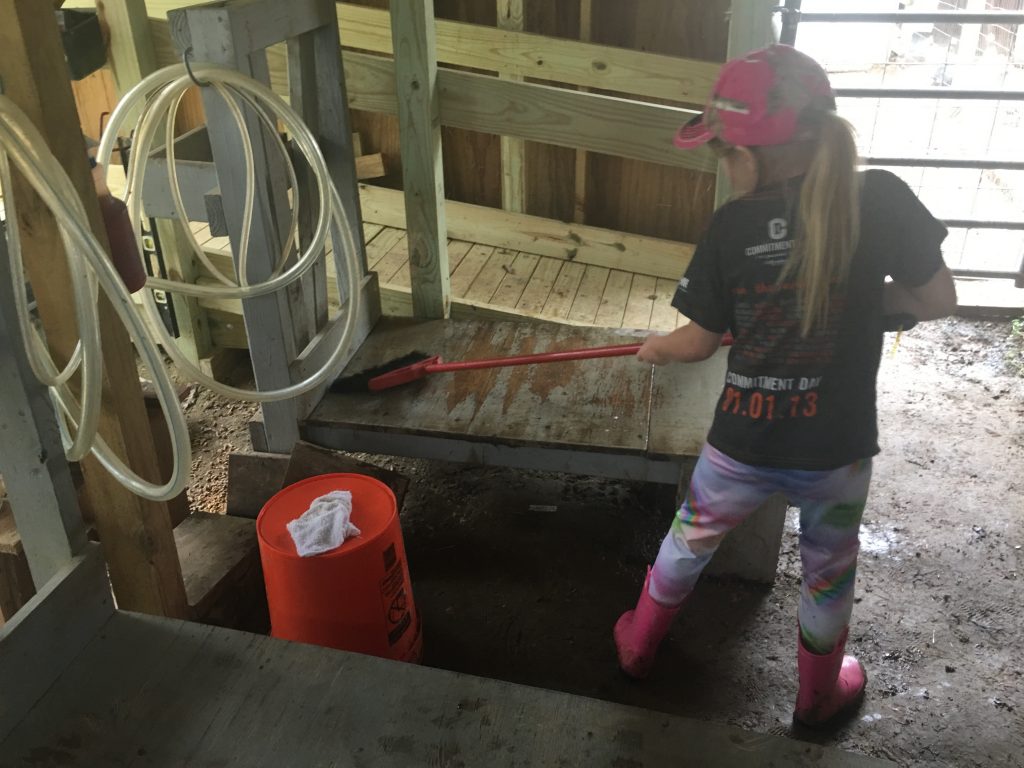
We have a centralized milking barn where we milk both cows and goats with a milking machine we have had for several years.
We found early on that hand milking takes much longer than milking with a machine. We tried milking with one of those hand vacuum milking pumps and although reasonably inexpensive, milking 20 or so goats twice a day was unworkable utilizing that design. With the machine we can milk 2 goats at a time. It takes about 5 minutes per pair of goats. The milking machine has been mostly trouble free and if kept clean it will last a lifetime. Our milking setup investment was pretty high, but has paid for itself many times over in milk collected, labor and time savings. If you are just starting out and only have a few animals maybe hand milking is for you, but if you have more than a handful of animals just the time required alone is a nonstarter.
The first thing I suggest you do is assess how much milk you really need. Remember to include all the milk by products in your estimate (butter, cream, cheese whatever) and remember that a goat only puts out a fraction of what a cow does. Also the butterfat compositions are different so it’s harder to make goat milk butter than cow milk butter after cream extraction. Speaking of cream extraction you will need a method of removing the butterfat from the milk, with cow’s milk you can leave it set and it will rise to the top, with goats milk you will need a cream separator to get maximum cream from the milk (see below).
Bad things can happen (predators, sickness etc.) so plan ahead and if possible add additional livestock as necessary for a worst case situation.
You will find as you increase the total amount of food you grow on your land you never have enough time. Spending a couple of hours milking in the morning and the evening each day is problematic. But there are ways to manage this making life better for you and your dairy animals. We use a technique called calf sharing. If you consistently leave the calf in with the mother there will not be enough milk left when it’s time for your share to make it worth your efforts. You can partially wean a calf at 8 to 10 weeks depending on its growth rate sometimes sooner. We put the calf in another pasture during the day and milk the mother each evening, then return the calf to its mom immediately after milking. The calf can have the mother for breakfast and all night and we get the milk from the day each evening. You never seem to get the mother completely stripped of milk and the calf will get something in the evening as well. Some people prefer to put the calf up at night and milk the mother in the morning leaving the two together all day, both methods work. Actually you can wean much earlier but we don’t recommend it and we really don’t need 4 gallons of cow’s milk per day anyway. Even preserving it (freeze drying) that’s a lot of milk. We have never tried this with goats.
One last thing before starting your homestead dairy endeavor. I highly suggest if you haven’t already tasted milk directly from a cow or goat that you do so before spending money on facilities, animals and feed.
My granddaughter calls store bought milk, fake milk because the taste is somewhat watered down compared to milk straight from the cow or goat. The butterfat content is definitely different resulting in a taste difference from what you buy at the store. But if you want milk without hormones, chemicals and artificial additives a home dairy will be well worth your efforts
We do not spray our fields we grow food in with herbicides. Herbicides for those of you that don’t know kill weeds without (hopefully) killing the food crop you are trying to grow. There are two types, selective (kills the weeds and not the crops) or non-selective (kills everything). The next time you are out and see a clean, weed free field especially of corn or soybeans the farmer is most likely using herbicides (in conjunction with other means). They work great and have been used for many years, but they do have a few “minor” downside issues. The first “minor” issue is expense, herbicides and the equipment to spray them are expensive. Also if you are going to spray them yourself in many areas you will need an applicators license (which you will need to take and pass a test to get “certified”). Also you can hire someone to spray your fields for you either on the ground or from the air, both are common farming practices. The second “minor” issue is the possible health and environmental related effects of herbicide residue in your food and in the soil. There is conflicting information on herbicide related effects on people, animals and the environment but we err on the side of caution. Just search online for the word glyphosate which is used in many of today’s modern herbicides and review the results for yourself.
What we utilize is commonly called mechanical weed removal. We have a tractor mounted and manual walk behind tiller, a row builder and a cultivator for removing weeds under most circumstances. These work pretty good in most stages of crop growth. The cultivator allows us to drive between the rows and remove the weeds by having a steel shank called a sweep pulled under the soil. This has been a pretty common farming practice for a hundred years or more; before tractors farmers used animals to pull cultivators and before that they used their spouse (BE ADVISED: for any budding homesteaders out there who are considering this option this can be a touchy subject with your significant other). The row builder is not really designed for weed removal but when hilling (moving soil from the middle of the row to around the plants in the row) and done properly has provided us a measure of successful weed control in the past. The walk behind tiller is used for close quarters combat with weeds and is especially effective around tomato cages. The tractor mounted tiller is only used in a weed removal context when a very wide area that we leave between crop types (example: between corn and tomatoes) is utilized.
Vine type vegetables (cucumbers, squash, pumpkins, all types of melons etc.), blackberries and grapes require some special handling. Driving the tractor around, through or over this type of home grown edible in our small scale world is problematic and trying to use the walk behind tiller in most of these circumstances is agricultural suicide. There are large scale solutions to weeds but not much for mechanical removal except the old “Armstrong” methods (me, my wife, my children and grandchildren manually removing weeds) so prevention is a better solution. We utilize black fabric around the plants and then apply mulch on top of that. This will slow but not always stop weed growth, I suggest periodic weed removal throughout the growing season always keeping a watchful eye for invaders. We use a regular hoe or a wheel hoe I built several years ago as much as possible but many times it’s just your hands and a smile. Some years this works better than others, but in my view anything is better than ingesting unwanted chemical residue.
In my opinion weed control is a pay me now or pay me later proposition. Spraying herbicides is much easier and less labor intensive then mechanical removal but in 20 years if things go south you could pay the ultimate price. Something to think about
For those of you reading this who are not weather savvy, the part of Tennessee we live in is “affectionately” called Dixie alley because of all the tornadoes we have. We usually don’t get as many tornadoes as the plains states but ours occur year round and we normally have more damage due to the higher concentration of wooded areas (i.e. flying trees). Personally over the years we have had lost parts of the roof, barns, livestock, fence, steps, a home air conditioning condenser ( technically it wasn’t lost just picked up and slammed against the house) and more downed trees than I can count. And for the record the biggest tornado to hit the farm was not forecast or announced by the national weather service until I had sections of barn deposited half way across the county.
The picture below was taken several years ago while driving home from work. As a side note later in that same trip I had the unique experience of having a different tornado on both sides of the car at the same time while traveling (no pictures of that one, I was preoccupied trying to survive, sorry).
Since the TV weather people have a tendency not give us enough warning during severe weather or have realistic weather expectations (what exactly does a 20% chance of rain mean anyway) we now have our own weather station. We are not weather professionals but we can tell bad weather when we see it. An example from a personal observation; I have been able to ascertain that if water is falling from the sky, there is a high percentage of rain (again not always reflected in the daily forecast from the true weather professionals). We have actually gone through 2 weather stations over the past few years.
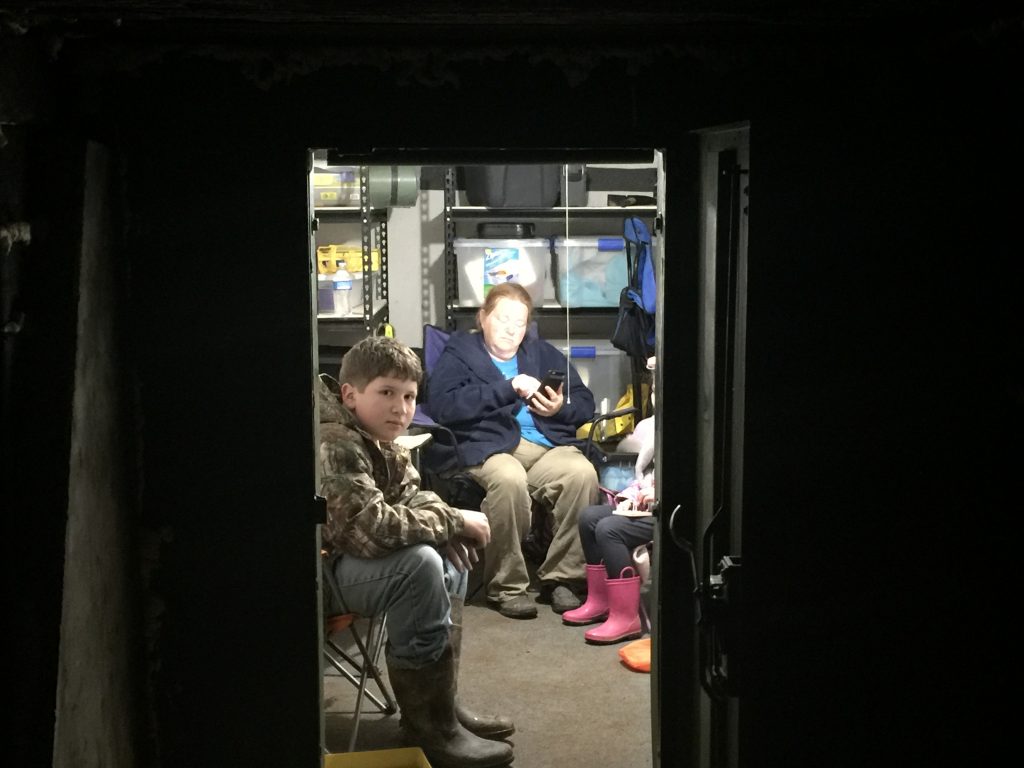
With my grandchildren at the farm on a fairly frequent basis we bit the bullet and added a tornado shelter a couple years ago. This is not to be confused with some sort of doomsday bunker that is stocked with 97 years’ worth of food (It’s barely big enough to hold the family in an emergency) but it works for short periods of time during storms.
One night last week at 1:35AM the weather radio alarm went off and I checked the radar. There was a massive storm from the north headed right at us. A severe thunderstorm warning was issued with special weather statements and we moved like lightening to the shelter. Like a fine tuned machine we evacuated to the shelter with a few small insignificant issues like kids needing a bathroom break during our first 5 minutes in the shelter, clothes grabbed in haste being 16 sizes too small, large insects in the shelter going on the attack, cell service being a little “spotty” (like nonexistent) underground and a fan so loud unless we took a direct lightning strike or the world ended we would not have known anything was actually going on outside. We were actually in the shelter about an hour but when we decided it was clear everyone went back in the house and quickly went to sleep. Except me that is, who was on storm watch and besides it was only about 45 minutes before I needed to get up anyway.
Lessons learned: no plan survives first contact with a seven year old backed up by her twelve year old brother. The execution of our plan might have been somewhat flawed and in need of a little fine tuning but having the people you truly love safe during a major weather event cannot be underestimated, please plan accordingly.
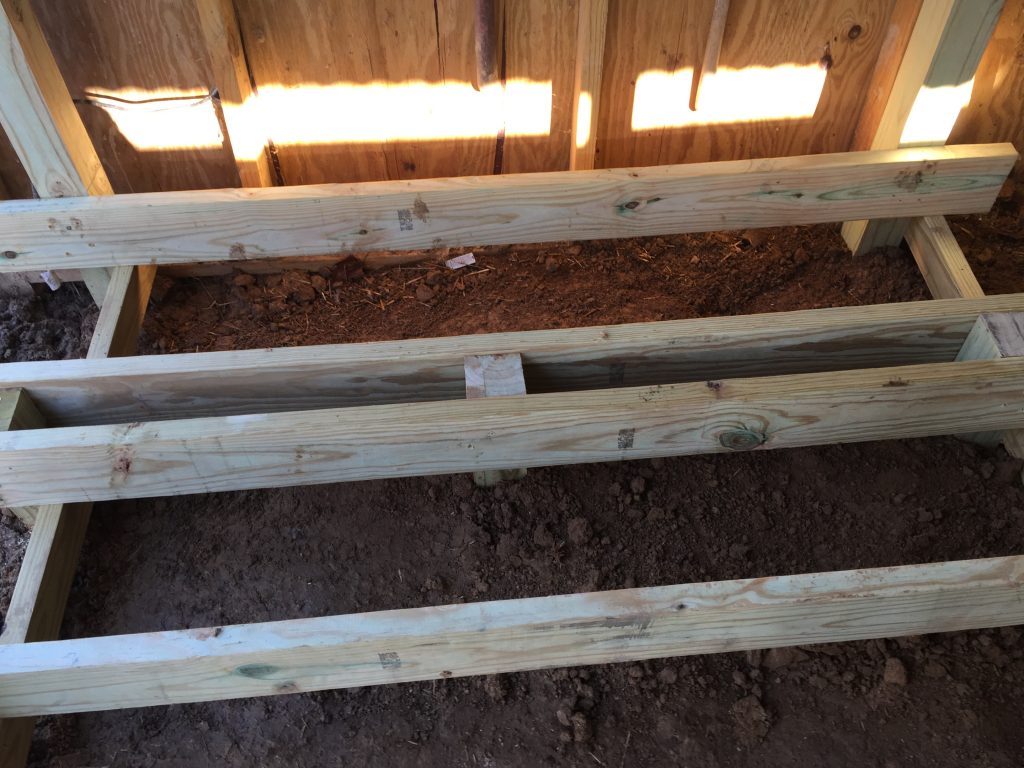
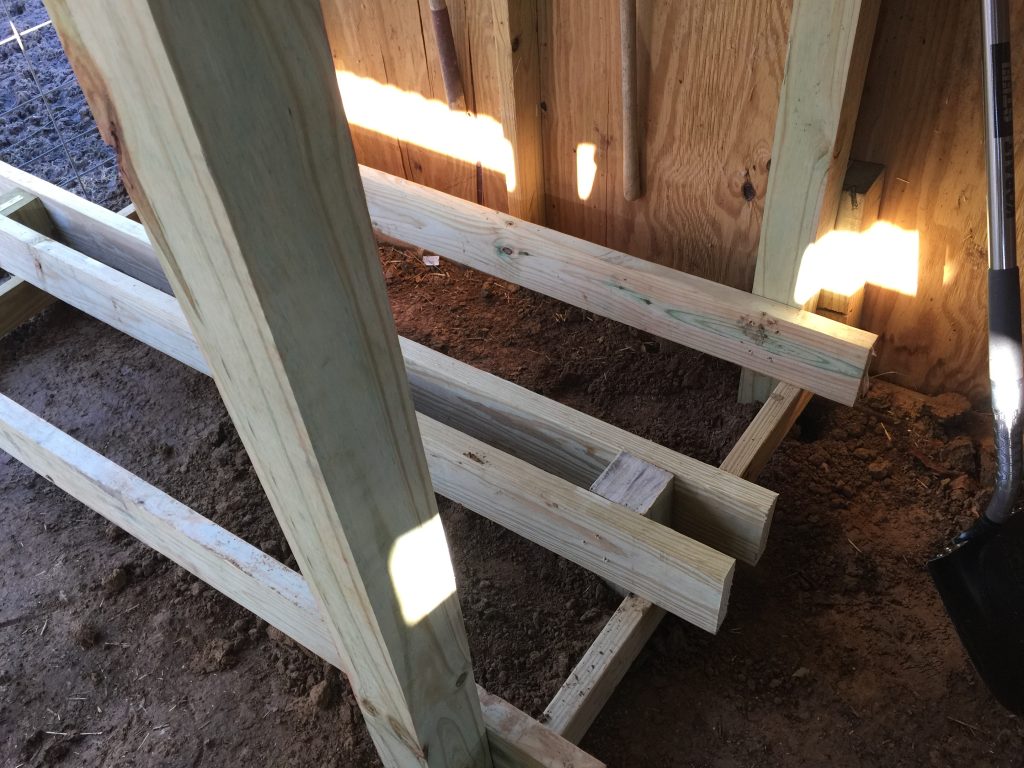
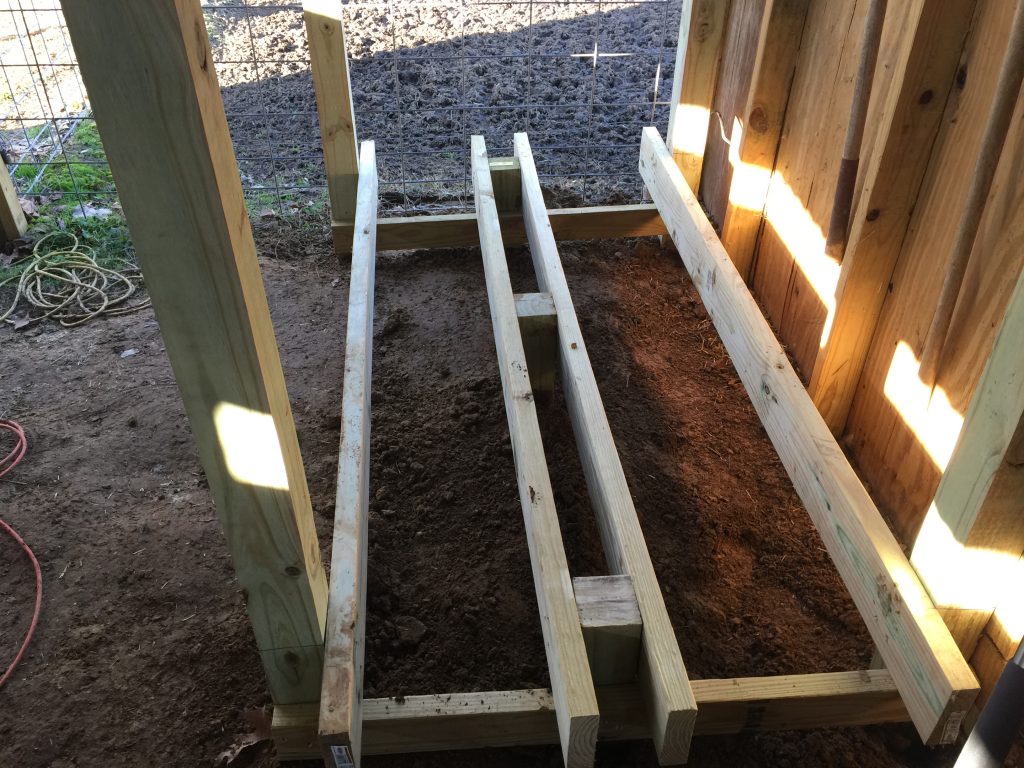
In part 1 we left off with an empty building and 4 posts sticking out of the ground and a single 2X6 wood plank screwed into two of the posts. At this point we dug 3 additional holes, one hole each centered on our original posts and one completely centered within the assembly. Each hole should be a least 2 feet deep. Cut a 10 foot long 4X4 into thirds and put each one of them into each hole. At this point do not put the dirt back in the hole, just leave it for later. Then we cut a 2X4 into 2 pieces the same length as the distance of the posts we assembled in part 1 and screwed them in with deck screws. Please remember each 2X4 needs to be COMPLETELY level prior to attaching to the post, this is critical. Attach a 2X6 to the outside posts allowing them to sit directly on the 2X4 at each end of the project. Add qty 2 2X5 to the center 4X4 posts in the ground ( one on each side) and your substructure is complete. This certainly sounds complex but follow the pictures and it’s not all that complicated (see below).
In our next post we will add the decking and the ramp structures
On our 12 year old grandson’s first full night back at the farm for the summer he had an experience that he will probably remember for the rest of his life. One of the last things we do each day is close up the chickens and ducks for the night. This keeps them safe from predators and mostly out of trouble. They naturally go in the barn when it gets dark so it doesn’t take long and it’s normally pretty uneventful.
The path to the chicken house borders a small forest which provides for a stunning view at dusk but also the echo of nighttime wildlife sounds of coyote, wild animals moving in the woods, birds and the occasional bobcat screech. After reaching the barn with his flashlight concentrated on getting through the fence apparently he didn’t see the danger lurking just a few feet away. As he took a few steps toward the barn it happened, a small black streak pushed out of the night in his direction startling him as he jumped back away from the danger.
He had stumbled on a snake looking for eggs to eat (which are collected much earlier in the day) and was in no mood to be disturbed.
This was one angry snake.
In my opinion what he did next was pretty amazing. With the understanding that letting the snake get away (the easiest option) would be a continuing problem with lost eggs, there was no one coming to help and more importantly the snake could eventually bite someone in the family, he acted. Risking shock he pulled an end post from our electric fence and using the “sharp” end worked his way in close enough to subdue the predator (without giving the graphic details the snake wasn’t going anywhere).
At that point he ran back to the house asking me to use my pistol and that’s where I got all the details. In my “infinite wisdom” it didn’t seem like giving a very excited 12 year old boy a pistol in the dark to shoot a snake was a good idea so we went out and that’s where I saw his handiwork.
After I had dispatched the snake permanently and had a few minutes to think about recent events, I had to admit that this young man who I had helped raise almost since birth was turning into the man I always hoped he would be. On his own he was able to deal with a crisis under pressure, solving multiple problems on the fly and getting the issue resolved with the best possible result (I know MBA’s that can’t come even close to that).
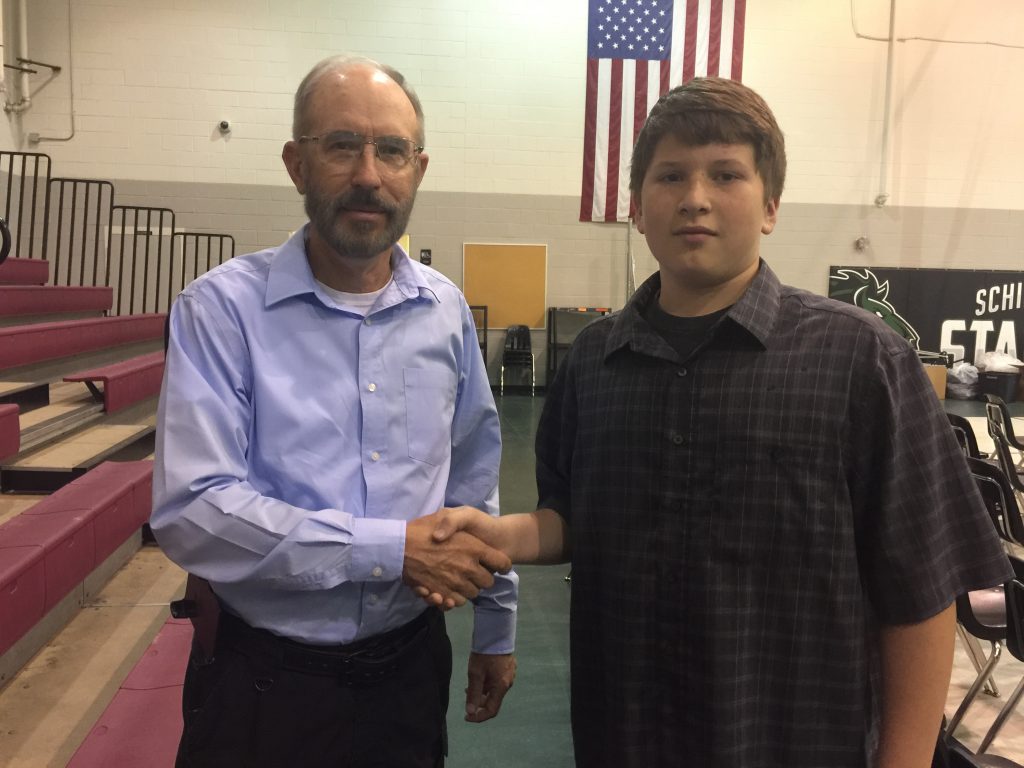
For his actions under fire on that fateful night, Noah was awarded the Golden Possum, one of Possum Ridge Farms highest awards!!! (Okay, maybe he didn’t get an award but if I had one he surely earned it)
Qty 4 4X4X8 pressure treated posts (all wood utilized in this project was pressure treated)
Qty 1 2X6X8 pressure treated wood
Qty 1 farmer in training
Qty 1 Box 3 inch deck screws and a few nails
Tools Required:
Hammer
Post hole digger
Shovel
level
Drill (corded or cordless)
Spud Bar ( if you have concrete for soil)
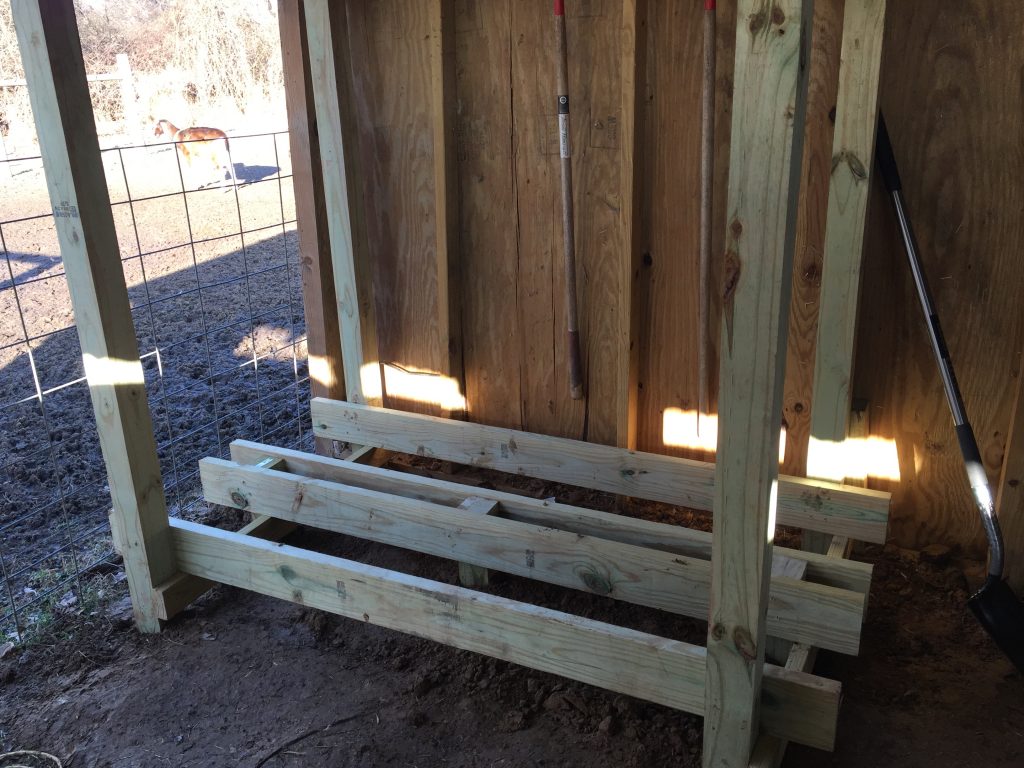
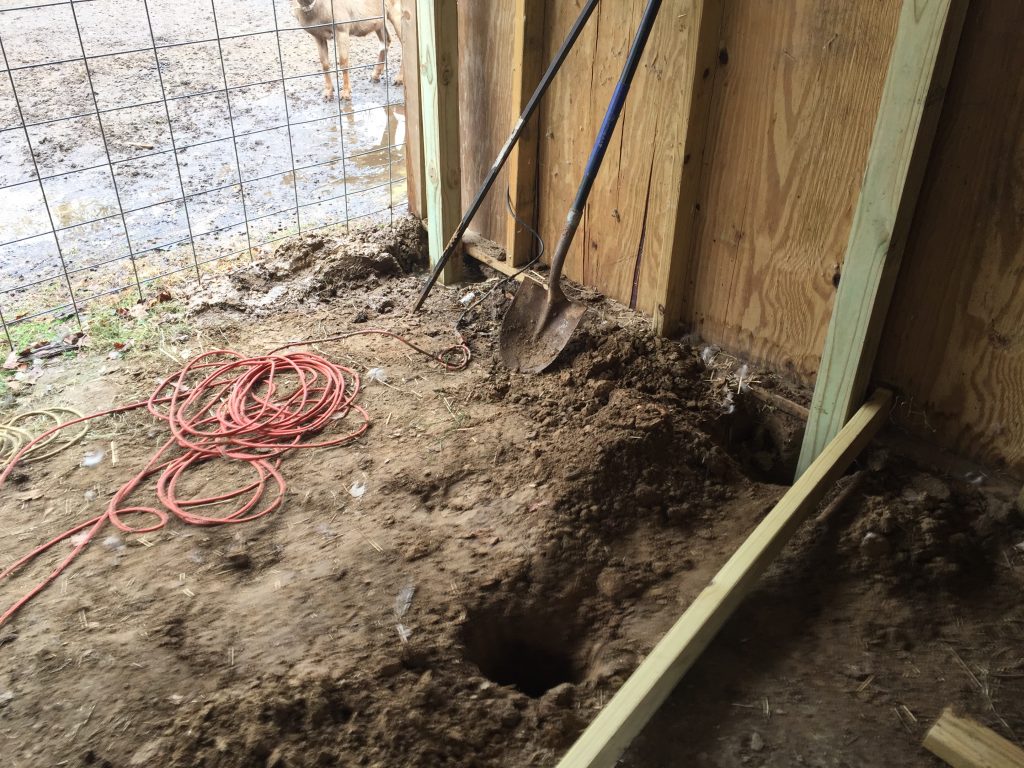
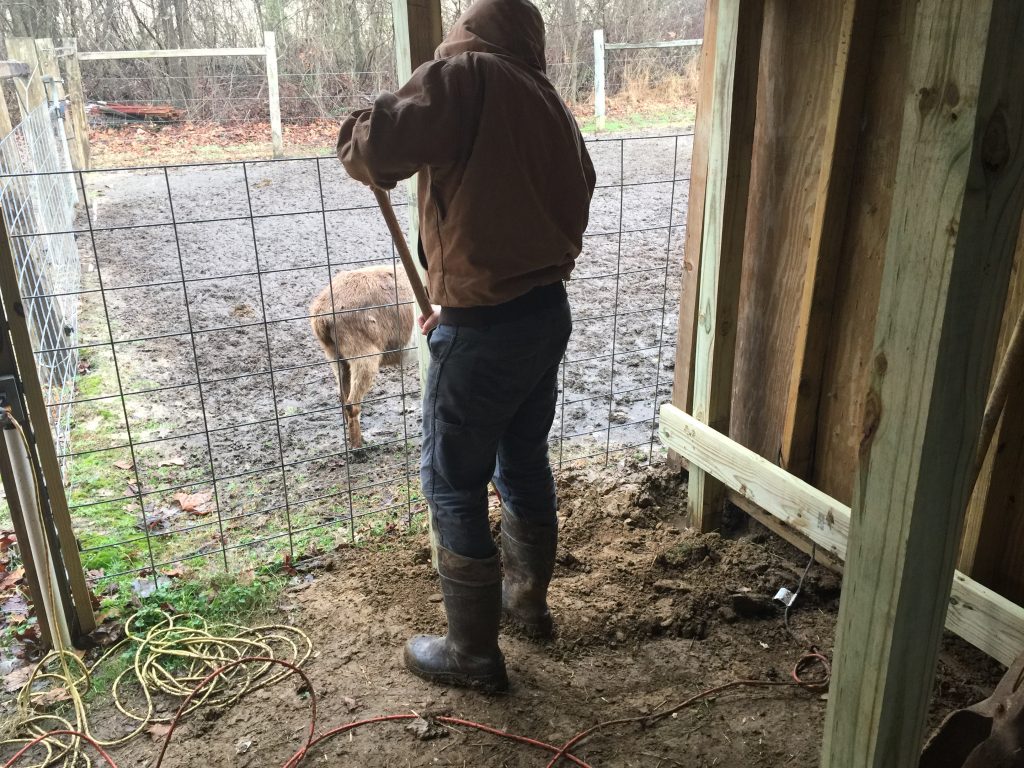
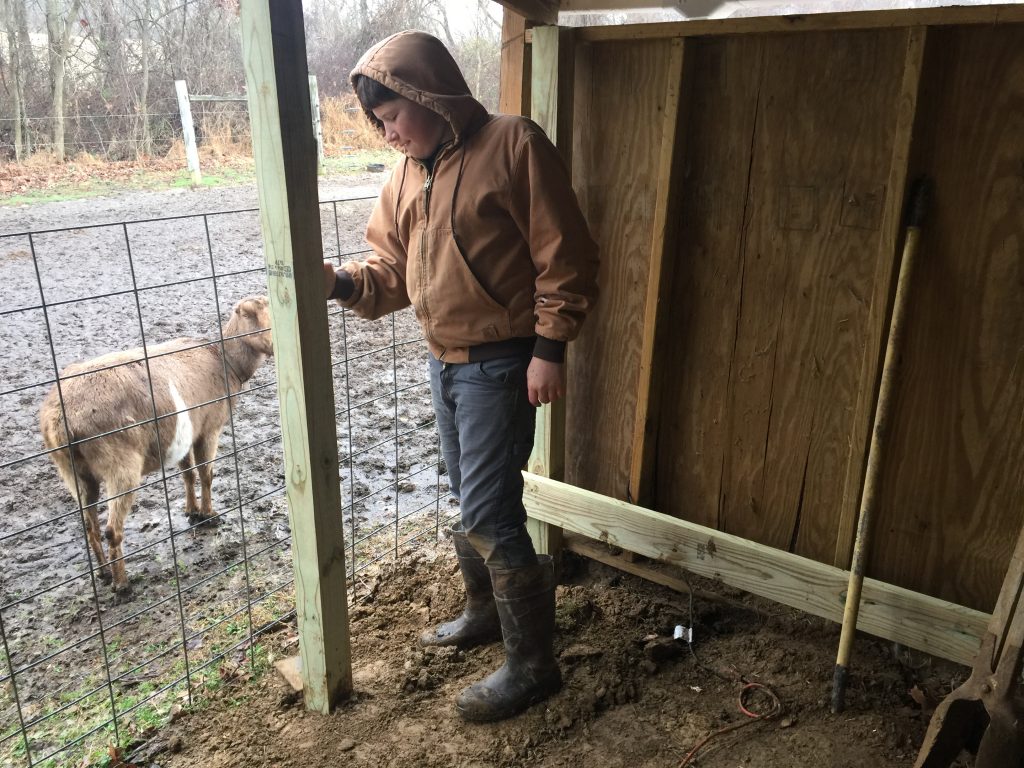
When considering building a milking stanchion for a cow you need to look at your site selection, stanchion type, breed of cows to be milked, building materials available and realistic utilization expectations, so do your research before attempting to build your own. Also please keep in mind the weight of a full grown cow can be well over a thousand pounds, so skimping on lumber, fasteners or anything else is not advised. After looking at numerous stanchions online and in person we elected to build a raised stanchion that would out live my generation, add some level of comfort to the milking process for us and the cows and of course keep the cow somewhat contained while milking. After measuring the building and then a cow or two (which was interesting all in itself) it appeared that our former fodder/small equipment building was a little short but could be modified for our needs. After researching all the considerations with a basic plan in mind, myself, my wife, grandson and granddaughter started the process. We proceeded to move everything out of that area of the barn and started construction ( thanks to Jonathan for helping move the coke machine, wow was it heavy). So now our task was to make a small barn into a milking parlor for not only the cows but our goat herd too. The pictures below are from the early stages of the project:
As you can plainly see in the pictures it had been raining for it seemed like months but we were mostly inside so it did not slow the process too much.
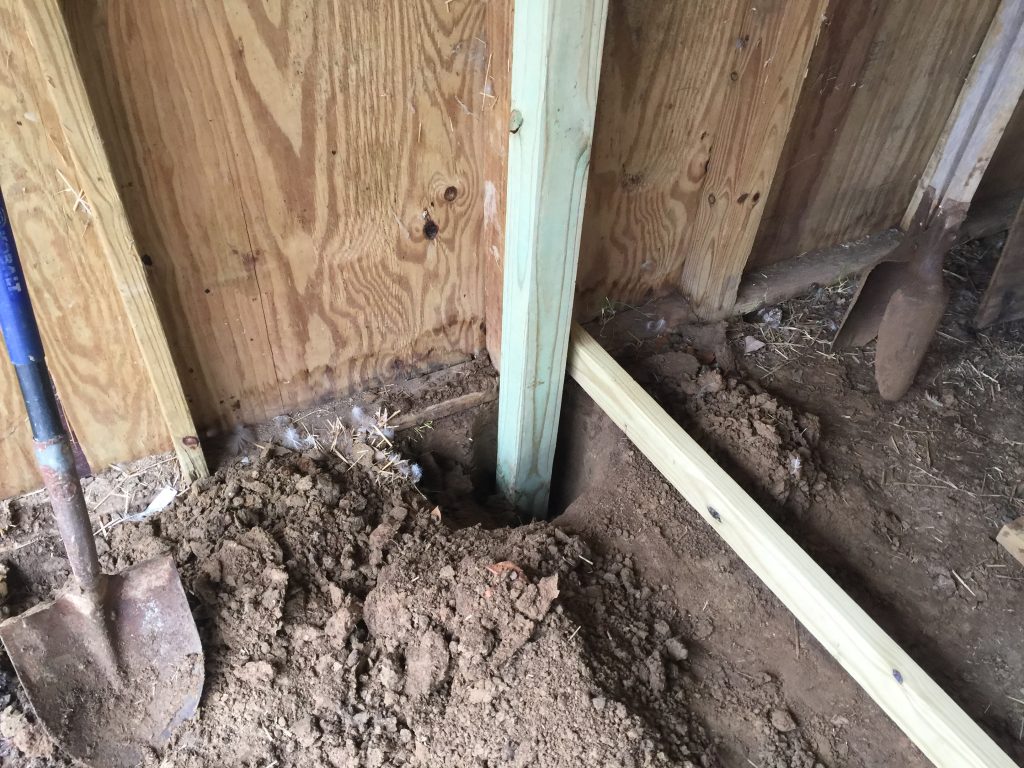
We dug 4 holes with a post hole digger. 2 holes along the wall of the building and 2 holes parallel to the first ones center to center 38 inches apart in one direction and 8 feet apart in the other. The holes were about 2 feet deep, squared and leveled in both directions before adding the dirt back to the hole. This is a critical step so I will repeat make sure your posts are square and level, if they are even slightly off it will create issues later in the project.
You can put concrete in the hole instead of dirt but with the clay soil there in Tennessee it wasn’t necessary (wet dirt here sets up like concrete).
My “assistant” added an 8 foot 2X6 to the posts and filled in the holes. The height of the 2X6 brace will be the substructure height of the stanchion plus the decking material utilized
The entire assembly was screwed together for added stability
In our next post we will build the complete stanchion substructure.
The fresh air, the animals & the hard work all appealed to me. I have no idea why.
I wanted chickens when I was 7. Nope my mom was deathly scared of birds of all kinds thanks to a rooster on her grandparents farm.
I went with my grandpa to visit some of his family on their farm and wanted to stay with them for a week, nope. They didn’t really want some little girl around underfoot.
The test I took in Jr High said I should either be a teacher or farmer. (By the way I grew up in the city.)
After I graduated High School I attended a small Technical College and most of my classes were in the Agriculture Building. THAT is where I met my future.
My future husband with the same passion to live on a farm.
We dreamed of a quiet place away from everything and everyone. Our own little slice of heaven.
We were able to purchase a small home and an acre of land in Tennessee in 1987. And so it began………………..